
Review: SKYTOU / VEVOR Beginner pottery wheels
Context: I have pushed these wheels to their limit by using them in a classroom setting: nearly a thousand people have thrown on them over the course of three years, each wheel seeing on average 800 hours of throwing. We also throw with about 1lb of clay (and no more than 5lbs, though I’ve read that these wheels can handle up to 10 lbs.).
Pottery is a challenging, rewarding craft – but the obstacles to getting into it aren’t just psychological (“I’m not creative” or “I tried it once and I was terrible” or “I don’t have time for a hobby”). Working with clay can be a costly craft: the firing process requires expensive kilns and a hefty electric bill, or if you’re operating without a kiln, outside firing fees and labor at a local studio.
Before you start thinking about the logistics of firing, it’s wise to practice centering and throwing clay on the wheel! Luckily clay is relatively affordable material (typically $30 for a 25 lb. bag of clay), and recyclable. Introductory tools are also low cost (I stick to the trifecta of a wire tool, sponge and wooden knife, all included in a beginner pottery kit or available individually). However, the machine that gets everything started, a potter’s wheel, can range from $250 (tabletop) to well over $1000 (traditional) depending on the brand and quality. That’s a lot to invest in a creative practice right off the bat!
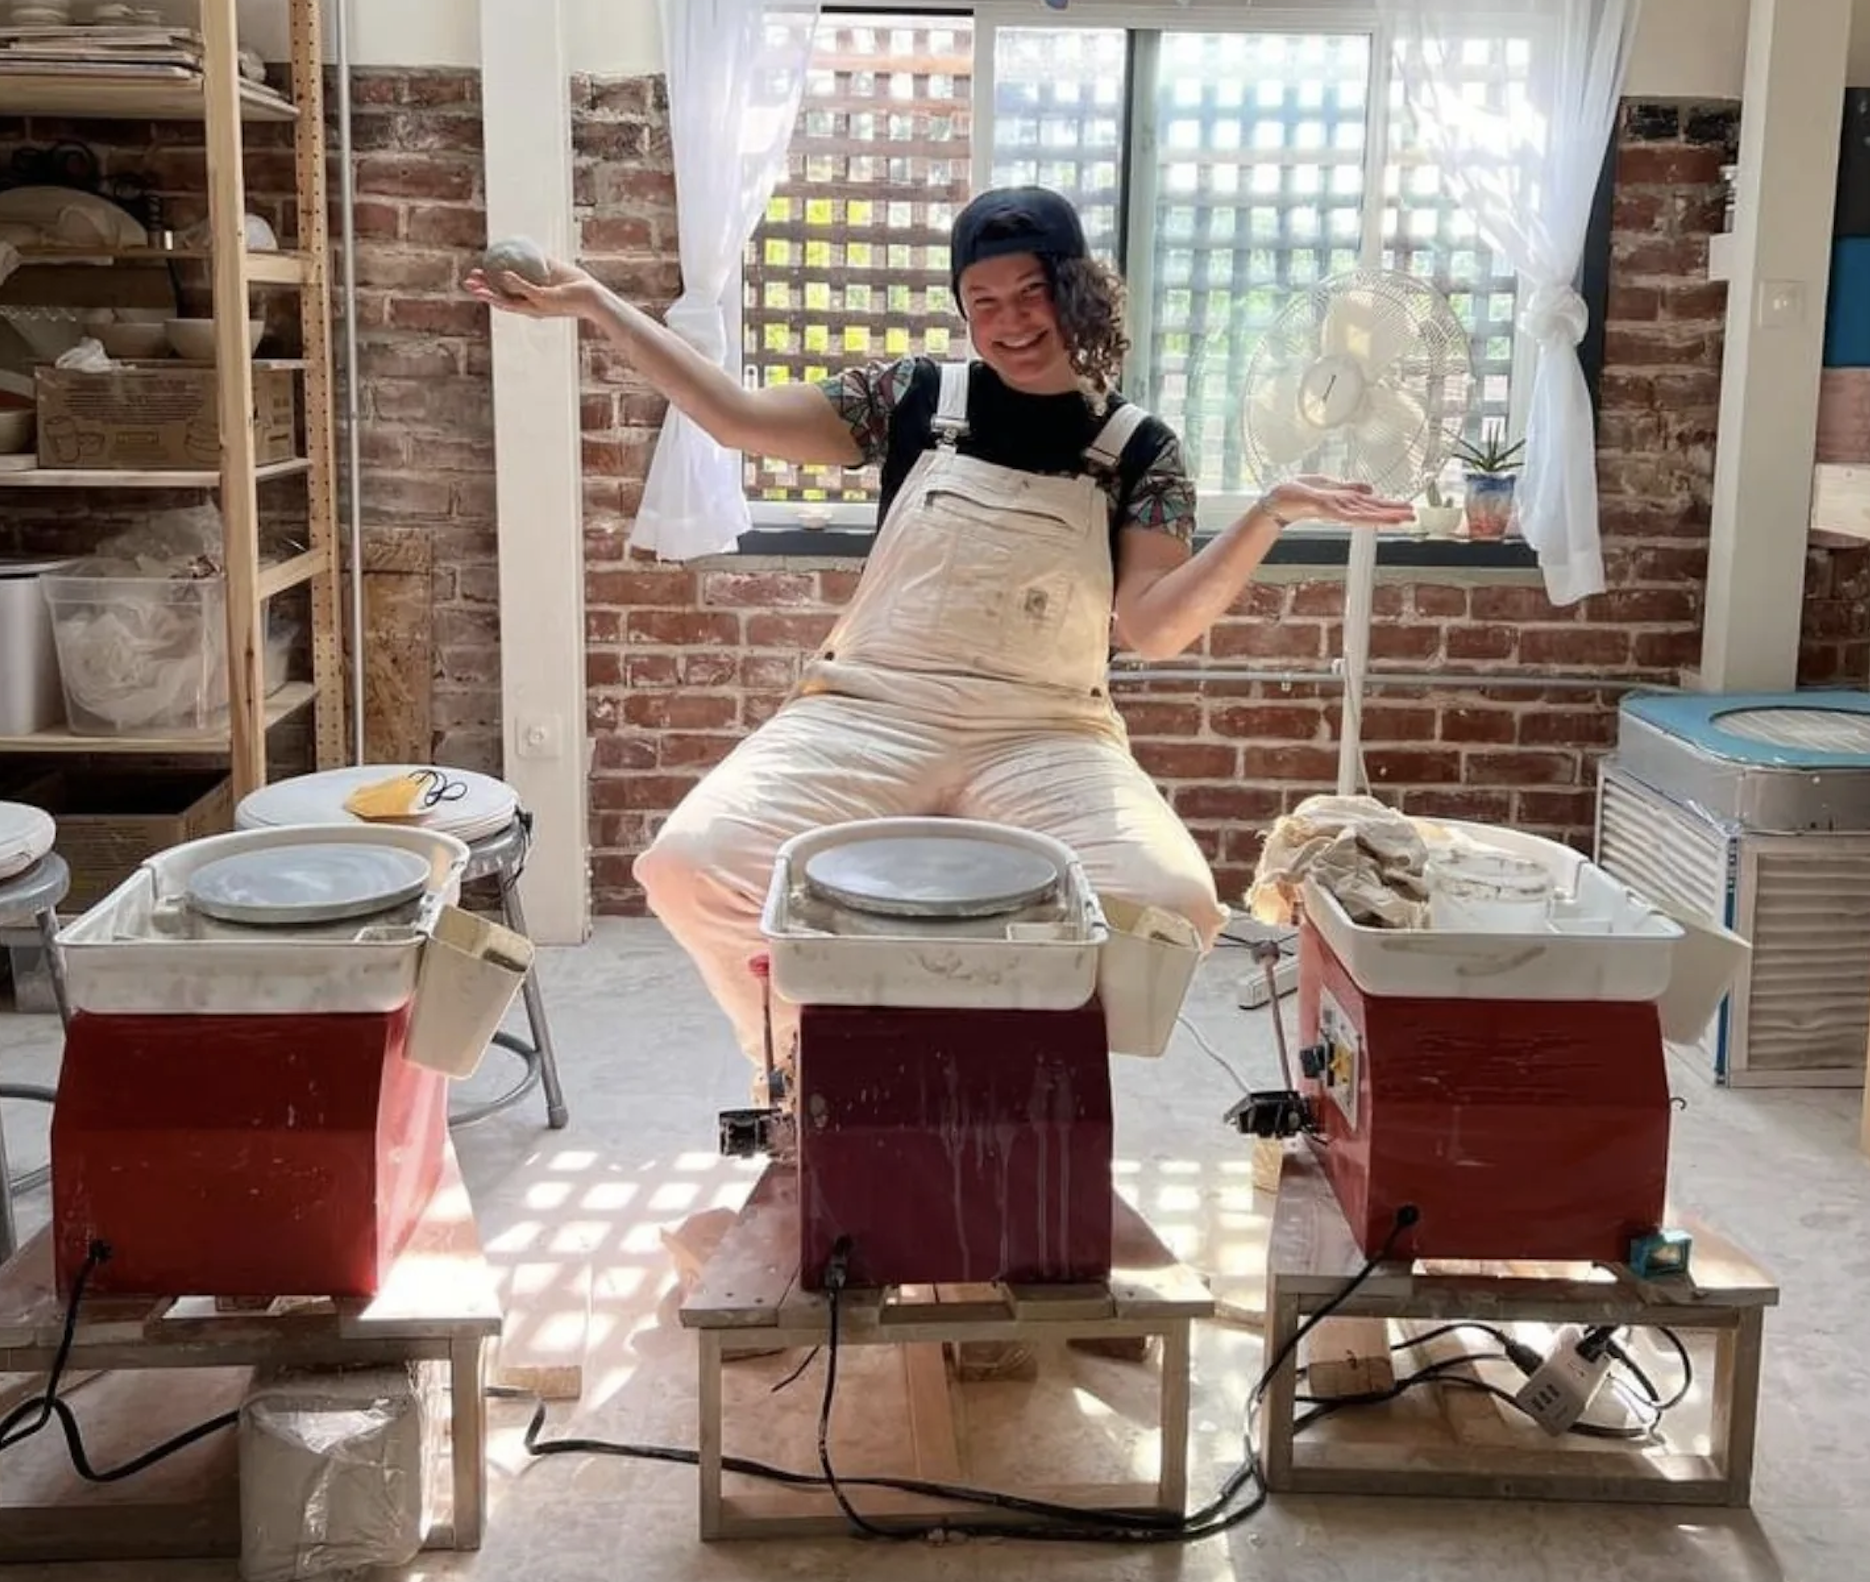
Pottery is having a moment, and it really had a moment during lockdown and the early stages of the pandemic. People were hungry for a tactile outlet, and they began to reimagine spare rooms, garages, back patios and empty corners. It was around this time that the beginner craft wheel came on the market: the VEVOR or the SKYTOU! Less than 30 lbs. (relatively portable), compact (about 16” x 6” x 20”) and ranging from $150 – 175, these wheels are great options for beginners looking to try pottery at home.
How did I get a hold of one of these wheels in the first place?
These beginner wheels are a big part of Waveform’s origin story. When the pandemic hit in 2020, I was working as a copywriter for a wholesale distributor of art supplies. It was a great job, especially when I got to be a part of a team and be in an office that felt social and welcoming. I was the lead writer for Art Dog, their industry blog, and wrote product copy for art supplies for over 240 brands (about 40,000 items).
As the months passed and shelter-in-place became the new normal, my job shifted from interviewing small business owners, chatting with a team and working on a variety of projects to sitting in front of spreadsheets and spreadsheets of copy, 8 hours a day, sequestered in my room. Anxiety and depression had a heyday, and I found myself struggling with my mental health (as many of us continue to experience throughout the pandemic). I confided in a close friend who also navigates mental health struggles, and he was worried about me. I told him the only thing holding me together was visualizing the steps of throwing on the wheel before falling asleep. Studios were closed due to COVID, so, I didn’t have access to throwing. Concerned, he used his Christmas bonus and bought me a beginner’s potter’s wheel – the little orange SKYTOU that started it all!
Here's an overview of using (and repairing) this wheel as a beginner:
The lever (or handcrank) is used to control the speed of the wheelhead. You are meant to screw the crank into molded plastic – however this connection doesn’t hold up super well over time so I’d recommend putting a bit of superglue or Gorilla glue in there before you screw it in to really get it in there. This crank sets the variable speed of the wheel, connected to the motor with a repurposed throttle of an e-bike (replaceable for $11). On nicer wheels, the pedal or crank speed is often controlled by a potentiometer. Note that when you are operating the beginner wheel, there is no need to slam the handcrank to brake – be gentle, as the e-bike throttle that is screwed onto to the inner spindle can crack and deteriorate over time. I’ve replaced a few of these over the years, because I didn’t notice how rough students were being with them! Replacing them is not a big deal as the part is cheap – you will need to drill a hole on the end, flip the wheel upside down, remove the crank and replace the throttle. Alligator clips and pliers will be handy to set the connections.
The wheelhead is made of aluminum; it’s a good idea to give it a spin at high speed and sand it with light sandpaper when you first get it to soften the grooves. You’ll notice dark gray dust coat the splash guard when you do this – just wipe it down and you’re good to go! Note that if you notice that same dark gray color on your hands when you throw, you are pressing too hard down onto the wheelhead. Caution: do not store heavy things on top of the wheelhead! I stacked my wheels once and accidentally warped a wheelhead. No amount of hammering it with a mallet seems to be able to correct it. Wheelheads on higher end wheels come with batpin holes – these are threaded holes that potters put bolts into (secured with wingnuts underneath) so that they can use bats to throw on. Bats can be MDF, plastic, plaster or wood, and are a handy way to transport work once it’s finished so it doesn’t warp when you remove it from the wheel. At Waveform we are throwing with 1 – 2 lbs, creating work that is easily transported from wheelhead to wareboard with steady, clean hands. If you want to upgrade your beginner wheelhead with batpins, check out this video to tap your own bat pin holes!
The splashguard is molded plastic and a pain in the butt to clean – I recommend using a large studio sponge that is cut in half. It’s the perfect size to get in the grooves without straining your hands. It’s important to take your splashguard apart regularly to clean reducing dust in your studio and ensure that the joints are clay free. The black plastic ring that the splashguard clips onto can also get caked with dry clay – check this connection when you remove the guard and if needed, clean it with a toothbrush to keep the connection clay-free. When cleaning: you can recycle this clay! Article on reclaim coming soon. Make sure you reattach the splashguard properly so it hooks under the black plastic ring underneath the wheelhead; this protects the wheelhead components from water and clay gunking up the seams. If you are a CAD nerd / 3D printing kind of person, designing a splashguard with curved seams (not constructed with sharp 90-degree angles) and soft edges would be a DELIGHT.
The motor – I am less educated on this as I haven’t had to fix one yet! But if you flip the wheel upside down, you have easy access to the electrical components – the wires are bundled neatly and color coded – impress yourself and get into some electrical YouTube videos if you need to fix something!
The belt is the flexible black plastic ring that connects the power of the motor to the wheel so that the power makes it spin. These wheels are belt-driven (vs a kickwheel or a wheel that is direct-driven via magnets). Belts wear out over time - if you hear a clicking when you are throwing, or the wheel is rotating in a stop-and-go, sporadic way, there may be an issue with the belt. I’ve haven’t had to replace a belt yet (though one time I took it off and put it back on, I can’t remember why but it was similar vibes to changing the tire on a bike). There is likely a serial number on the belt you can look up and order a spare online if you have a cracked or warped belt. You can also measure the belt with a soft measuring tape and look up the dimensions. Hot tip: ordering parts like the belt from hardware stores is significantly cheaper than ordering from a specialty pottery store.
The cord is coated with cheap plastic that doesn’t withstand continuous cleaning or coiling well. Because I use these wheels in a classroom, I had a system of coiling the cord around the handcrank to protect it while I moved the wheels for mopping, transported them or stored them. I found myself constantly patching cracks in the plastic casing, replacing plugs that fell off, and feeling anxious about exposed wires RIGHT NEXT to water, and more importantly, students! Over time I’ve learned not to coil these wires, and to clean them sparingly and lightly with a damp rag rather than a firm scrub with a wet sponge. When I move the wheels, I curve the cord around the metal body of the wheel – I have a magnetic hook on the opposite side that cradles the end of the plug nicely. I know this all sounds wildly particular, but when you do something repeatedly, it really has an impact! Constantly coiling the cords and sponging them down with water resulted in cracked plastic casing, plugs falling off and exposed wire. If you find yourself needing to replace the wire, you can get plugs and cordage at a local hardware store (PLEASE try to get your hardware supplies from a brick and mortar, not online – like libraries, we need hardware stores and the experienced employees who share a lifetime of knowledge). If you’re in a pinch you can get cordage with a plug already affixed at Home Depot ($15). To replace the cord, you need wire cutters / strippers, alligator clips and pliers. You got this!
The body of the wheel is welded sheet metal. It’s easy to clean and colorful. These wheels are very low to the ground: it’s your choice if you’d like to keep it on the floor and use a small footstool as a chair. If you’d like to use a standard studio stool or rolly chair for your seating choice, you’ll need to raise the wheel up a bit, and depending on the situation, you may need an optional counterweight as well (higher end wheels are much heavier – great for counterweight, but challenging to move!). I built stands for Waveform’s wheels – more on that in another post about woodworking!
The switches on the side turn the wheel on and off and control the direction of the spin (clockwise – historically Eastern cultures throw this way, and counterclockwise – historically Western cultures throw this way). I let folks choose based on where they feel most comfortable pulling – just make sure the clay is running through your fingers (flow), not against them (friction!). I haven’t had any issues with these switches, however If you flip the wheel upside down the wiring is easy to access should something go awry.
TLDR – Pros and Cons of the VEVOR/SKYTOU Beginner Craft Wheels
Pros
Lightweight - easy to carry
Compact – small footprint
Affordable – under $150 - 175
Functional – motor holds up
Easy to fix – cheap parts & light, open build for easy access to wiring
Cons
Lightweight - requires a counterweight and/or stand if you choose to raise it up
Throttle design flaw - variable speed control is not that sensitive, and inconsistent from wheel to wheel. On higher quality wheels you can really customize the relationship between the controller and the speed of the wheel – with these you get what you get / I haven’t hacked that aspect yet. Some wheels can go very slow and others are stuck in a narrow window of speed.
Parts degrade over time
a. Hand crank can fall off / if you get the model with the pedal, it’s cheapy material (not a good feel for controlling speed, which as you progress you will get more and more particular about)
b. Interior throttle will break over time if you are too rough with lever
c. Cordage cracks over time / plugs can fall off
Questions? Want to talk shop? Curious about starting your own studio? Get in touch, and follow the studio on Instagram for educational content and studio updates!